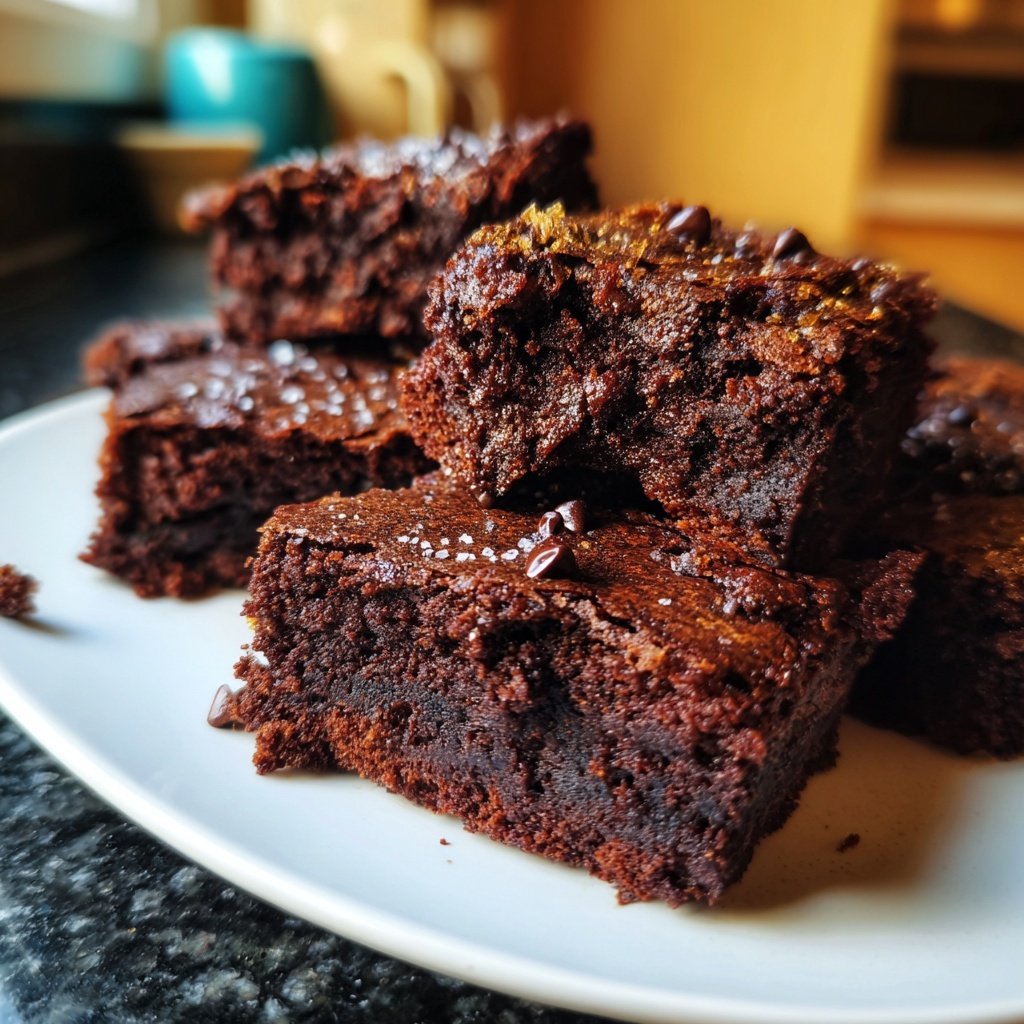
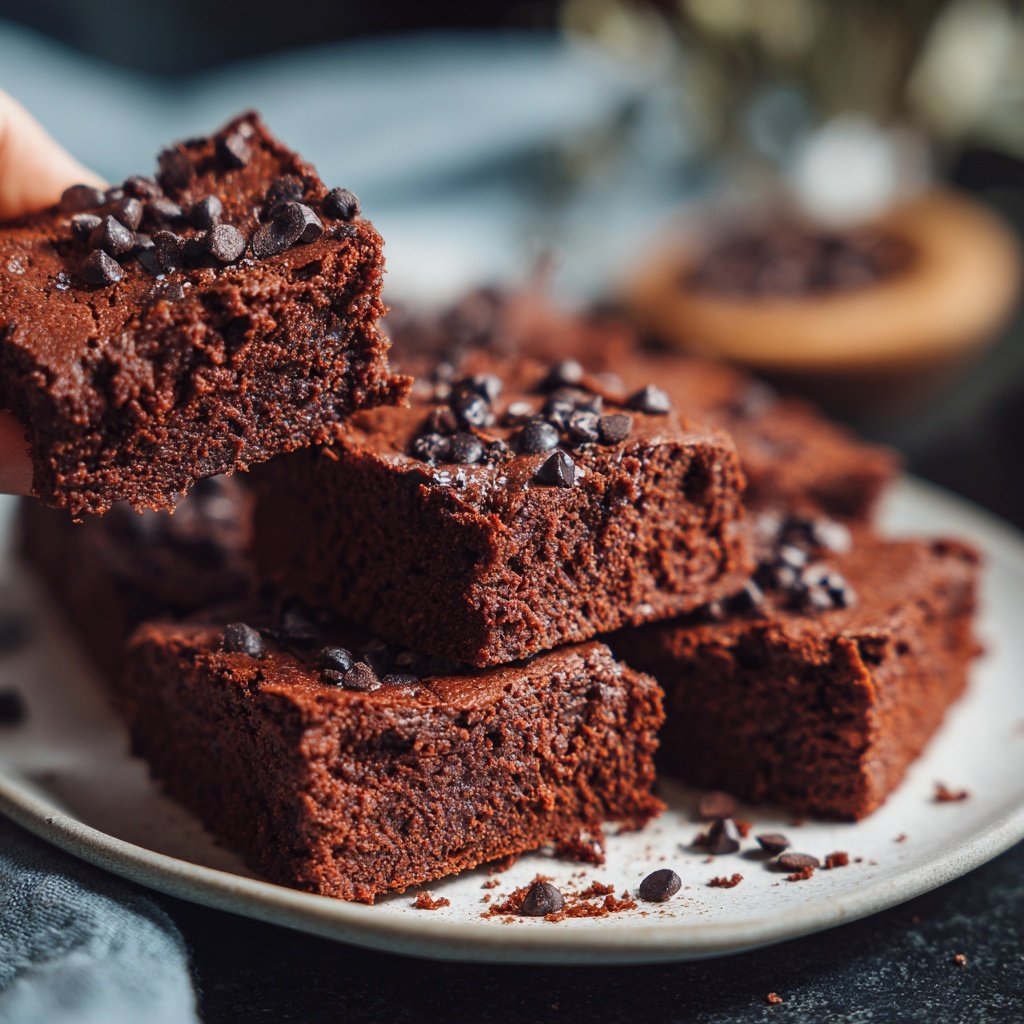
Cottage Cheese Brownies with Cocoa Nibs
Highlighted under: Golden Planning
I've always loved brownies, but when I discovered a way to incorporate cottage cheese into the mix, my baking game changed forever! These Cottage Cheese Brownies with Cocoa Nibs combine a rich, fudgy texture with the protein boost from cottage cheese, making them a delightful treat that feels indulgent yet surprisingly wholesome. The cocoa nibs add a delightful crunch and an extra layer of chocolatey flavor that elevates these brownies to something truly special. Perfect for any occasion or just as a personal indulgence!
When I first tried making brownies with cottage cheese, I was hesitant. Could those creamy curds really substitute for the usual fats? To my surprise, the result was heavenly! The cottage cheese not only kept the brownies moist but also provided a lovely tang that balanced the sweetness perfectly.
I've found that adding cocoa nibs really enhances the overall texture and flavor profile. They provide a wonderful crunch that contrasts beautifully with the fudgy brownie. The next time I bake these, I might try experimenting with different types of chocolate to see how it alters the taste!
Why You'll Love These Brownies
- Rich chocolate flavor paired with crunchy cocoa nibs
- Creamy texture that satisfies your sweet tooth with a healthy twist
- Perfect for sharing or indulging when you need a chocolate fix
The Role of Cottage Cheese
Incorporating cottage cheese into brownies introduces not only a creamy texture but also boosts the protein content, making these treats a more nutritious option. The cottage cheese blends seamlessly into the batter, creating a fudgy consistency that retains moisture during baking. This unique addition allows for less oil or butter, resulting in a lower-fat alternative to traditional brownies. When using cottage cheese, ensure it’s well-blended to avoid any curds in the final brownie, as a smooth mixture ensures an even bake.
For those who might be concerned about the slight tang of cottage cheese, rest assured that the cocoa powder and sugar balance it beautifully. The deep, rich chocolate flavor enhances the overall experience, so any subtle flavors from the cottage cheese will be masked by the cocoa. This is particularly important for anyone trying this ingredient for the first time; they may be pleasantly surprised by the outcome!
Perfecting Texture with Cocoa Nibs
Cocoa nibs serve as a crunchy contrast to the gooey, fudgy brownie texture. When folding them into the batter, be mindful not to overmix, which can lead to a denser brownie. The nibs should remain suspended throughout the batter to distribute their flavor without disrupting the overall consistency. If cocoa nibs are too harsh for your taste, consider substituting semi-sweet chocolate chips, which will melt slightly and give a similar but creamier mouthfeel.
One notable advantage of adding cocoa nibs is the extra layer of rich chocolate flavor that complements the brownies. They are also a great source of antioxidants and add a fun texture that elevates the eating experience. If you're serving these brownies at a gathering, not only will the nibs be a conversation starter, but they will also impress guests who enjoy unique twists on classic desserts.
Storing and Serving Suggestions
After baking, let the brownies cool completely on a wire rack to achieve the perfect texture; this usually takes about 30 minutes. They can be stored in an airtight container at room temperature for up to three days, or they can be refrigerated for up to a week. For longer storage, consider freezing them; they freeze well for up to three months. Just wrap individual portions tightly in plastic wrap and place them in a freezer-safe bag. To enjoy, thaw them in the fridge overnight and warm slightly in the microwave for a delightful experience.
When it comes to serving, these brownies are delicious on their own, but you can easily elevate them with toppings. A scoop of vanilla ice cream or a drizzle of homemade chocolate sauce can turn them into a showstopper dessert. For an added touch, sprinkle extra cocoa nibs or a pinch of sea salt on top before serving to enhance the flavor profile further. Additionally, try experimenting with different flavor extracts in the batter, such as almond or peppermint, for exciting variations.
Ingredients
Gather these ingredients to make your delicious brownies.
Brownie Ingredients
- 1 cup cottage cheese
- 1 cup granulated sugar
- 1/2 cup unsweetened cocoa powder
- 1/2 cup all-purpose flour
- 1/4 cup vegetable oil
- 3 large eggs
- 1 teaspoon vanilla extract
- 1/2 teaspoon baking powder
- 1/4 teaspoon salt
- 1/2 cup cocoa nibs
Make sure everything is measured properly for the best results!
Instructions
Follow these simple steps to create your gooey brownies.
Preheat the Oven
Preheat your oven to 350°F (175°C). Grease and line a 9x9 inch baking pan with parchment paper.
Mix Wet Ingredients
In a large bowl, blend the cottage cheese with the sugar, vegetable oil, eggs, and vanilla extract until smooth.
Combine Dry Ingredients
In another bowl, whisk together the cocoa powder, flour, baking powder, and salt.
Combine Mixtures
Gradually add the dry ingredients to the wet mixture, folding until just combined. Stir in cocoa nibs.
Bake
Pour the batter into the prepared pan and spread evenly. Bake for 25 minutes or until a toothpick comes out with a few moist crumbs.
Cool and Cut
Let the brownies cool in the pan for about 10 minutes before transferring them to a wire rack to cool completely. Cut into squares and enjoy!
Store any leftovers in an airtight container for up to three days.
Pro Tips
- For an extra chocolate kick, try drizzling melted chocolate over the top before serving.
Troubleshooting Common Issues
If your brownies turn out overly dry, it may be due to overbaking. To avoid this, check for doneness a few minutes before the recommended bake time; a toothpick should come out with a few moist crumbs, not clean. Also, be cautious about measuring the flour correctly; using too much can lead to dense, dry brownies. Always spoon the flour into your measuring cup and level it off with a knife for accuracy.
Conversely, if the brownies are too gooey in the center, they may need a little more time in the oven, especially if you're using a darker pan, which can bake faster. Another common issue is brownies not setting up properly. Ensure all your wet ingredients, especially the cottage cheese, are blended thoroughly to achieve an even mixture that bakes uniformly.
Scaling the Recipe
This recipe can easily be doubled or halved based on your needs. To double, use a 13x9 inch pan and increase the baking time slightly, checking for doneness around the 30 to 35-minute mark. If halving the recipe, use a smaller baking dish such as an 8x8 inch pan, but keep an eye on the baking time since it may reduce by a few minutes. Regardless of batch size, always check for visual cues and perform the toothpick test for the best results.
When scaling, it's also important to note that the mixing time may increase slightly with larger quantities. Ensure that you mix each component thoroughly but avoid overmixing once the dry ingredients are added. This keeps the brownies light and prevents a dense texture, maintaining the signature fudgy goodness.
Experimenting with Add-ins
Once you've mastered the basic recipe, feel free to get creative with add-ins! Chopped nuts, dried fruits, or even a swirl of peanut butter can add varied textures and flavors. For a fruity twist, try folding in chopped strawberries or raspberries for a fresh contrast to the chocolate. You'll want to balance the amount of additional ingredients so the batter remains manageable and maintains its fudginess.
Remember to adjust the baking time slightly if you're adding larger chunks or wet ingredients to the mix; this can affect how the brownies set. A good rule of thumb is to check for doneness a few minutes earlier if you're adding significant weight, like nuts. Exploring these variations can make each baking session a new adventure!
Questions About Recipes
→ Can I substitute other types of cheese instead of cottage cheese?
While cottage cheese gives a unique texture, you could experiment with ricotta for a creamier result.
→ Are these brownies gluten-free?
You can use a gluten-free flour blend to make these brownies gluten-free.
→ How should I store the brownies?
Store them in an airtight container at room temperature for up to three days or refrigerate for longer freshness.
→ Can I freeze these brownies?
Yes, they freeze well! Wrap them individually in plastic wrap and store in a freezer bag for up to three months.
Cottage Cheese Brownies with Cocoa Nibs
Created by: Portia Langford
Recipe Type: Golden Planning
Skill Level: Easy
Final Quantity: 16 brownies
What You'll Need
Brownie Ingredients
- 1 cup cottage cheese
- 1 cup granulated sugar
- 1/2 cup unsweetened cocoa powder
- 1/2 cup all-purpose flour
- 1/4 cup vegetable oil
- 3 large eggs
- 1 teaspoon vanilla extract
- 1/2 teaspoon baking powder
- 1/4 teaspoon salt
- 1/2 cup cocoa nibs
How-To Steps
Preheat your oven to 350°F (175°C). Grease and line a 9x9 inch baking pan with parchment paper.
In a large bowl, blend the cottage cheese with the sugar, vegetable oil, eggs, and vanilla extract until smooth.
In another bowl, whisk together the cocoa powder, flour, baking powder, and salt.
Gradually add the dry ingredients to the wet mixture, folding until just combined. Stir in cocoa nibs.
Pour the batter into the prepared pan and spread evenly. Bake for 25 minutes or until a toothpick comes out with a few moist crumbs.
Let the brownies cool in the pan for about 10 minutes before transferring them to a wire rack to cool completely. Cut into squares and enjoy!
Extra Tips
- For an extra chocolate kick, try drizzling melted chocolate over the top before serving.
Nutritional Breakdown (Per Serving)
- Calories: 180 kcal
- Total Fat: 7g
- Saturated Fat: 1g
- Cholesterol: 30mg
- Sodium: 100mg
- Total Carbohydrates: 24g
- Dietary Fiber: 2g
- Sugars: 15g
- Protein: 4g