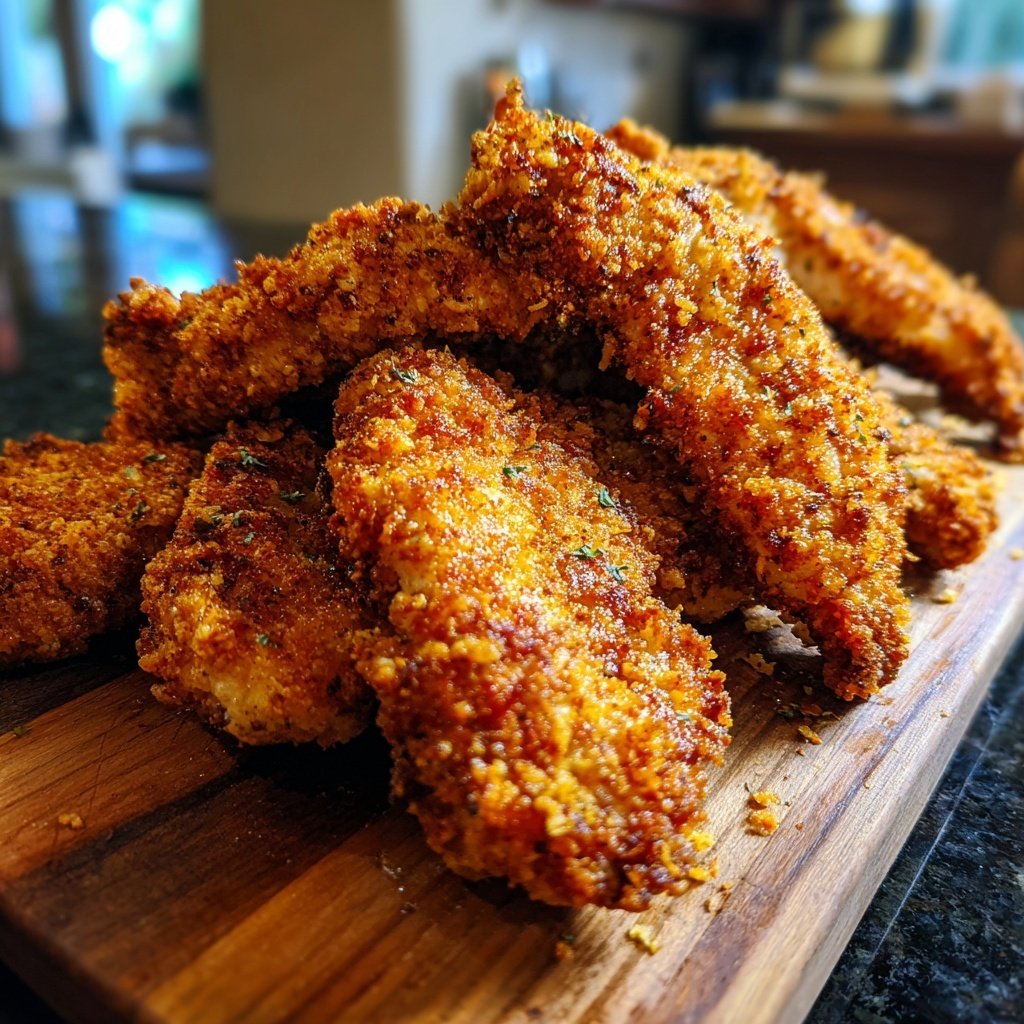
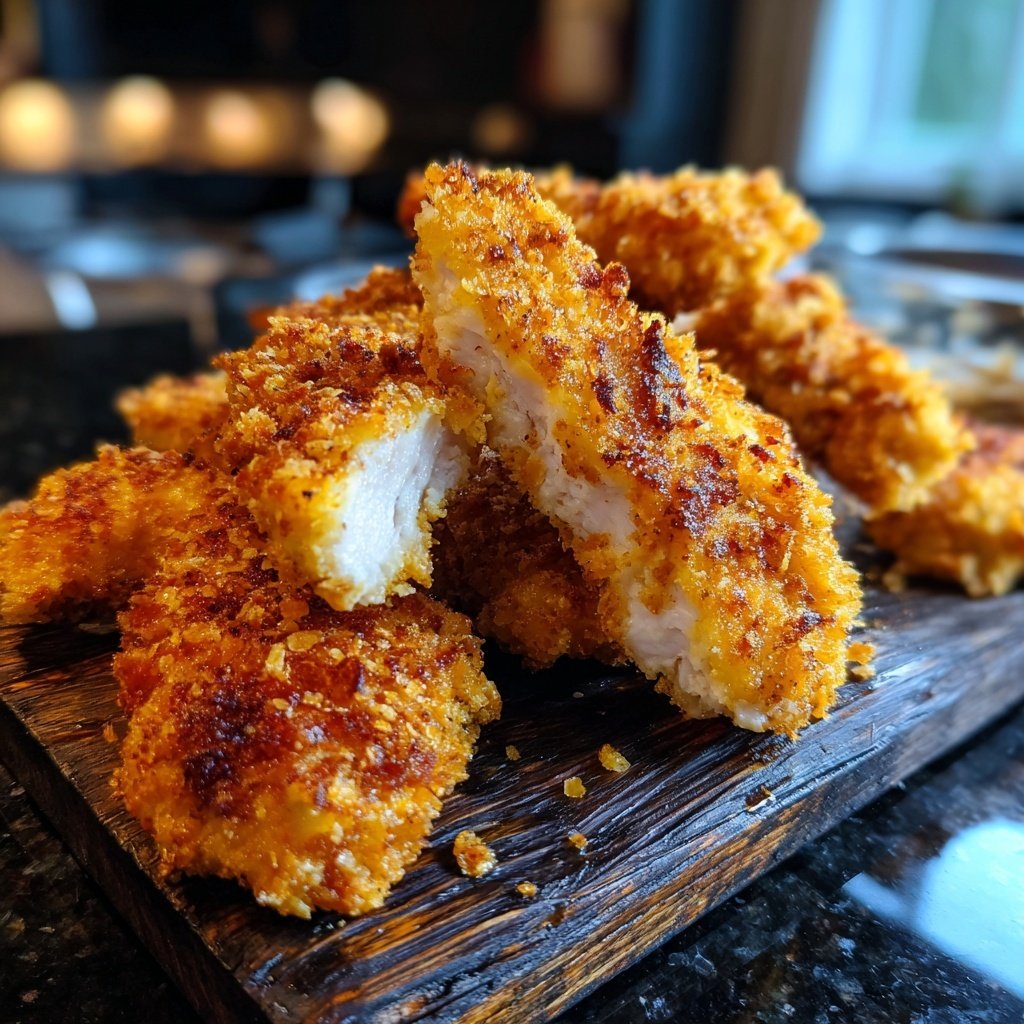
Crispy Oven Fried Chicken Tenders
Highlighted under: Home Planning
I love making Crispy Oven Fried Chicken Tenders because they are not only healthier than traditional fried tenders, but they also pack a flavor punch that my family adores. The process starts with marinating the chicken to ensure a juicy base, followed by a light coating of seasoned breadcrumbs. Baking them allows for that perfect crunch without the guilt of deep frying. It’s a simple recipe that I can whip up quickly, making it a favorite for busy weeknights.
Creating Crispy Oven Fried Chicken Tenders is always an adventure in the kitchen. I remember the first time I tried to replicate that crunchy texture without deep frying. It took a few rounds of experimenting with different breading techniques, but I finally discovered that using panko breadcrumbs gives the best results. The combination of spices gives an extra layer of flavor that pairs beautifully with the chicken.
Over time, I've tweaked the recipe to include more herbs and spices that we love as a family. What I found works exceptionally well is soaking the chicken in buttermilk overnight, as it makes the tenders incredibly tender and flavorful. My kids have become huge fans, and it’s fun to have them help with the breading!
Why You'll Love These Tenders
- Crispy texture that rivals traditional frying
- Tender, juicy chicken that's full of flavor
- Quick and easy recipe perfect for weeknight dinners
Marinating for Moisture
The buttermilk marinade serves a crucial role in this recipe, ensuring the chicken stays tender and juicy. The acidity in buttermilk breaks down the proteins in the chicken, which prevents it from becoming dry during baking. For the best results, I recommend marinating for at least 30 minutes, but if you have the time, letting it soak overnight will deepen the flavor even further. Make sure to toss the chicken strips in the marinade thoroughly so that each piece is evenly coated.
If you're short on buttermilk, don't worry! A quick substitute can be made by adding a tablespoon of vinegar or lemon juice to a cup of regular milk and letting it sit for about 5-10 minutes until it thickens slightly. This works as well in tenderizing the chicken while giving it that unique tangy flavor that buttermilk is known for.
Breading Technique for Ultimate Crispiness
When preparing the breadcrumb coating, it's vital to use panko breadcrumbs instead of regular breadcrumbs. Panko provides that light and airy texture that results in an extra-crispy finish. I often toast my panko lightly in a dry pan for a few minutes before mixing it with the seasonings to enhance its crunch factor, which can elevate the dish even further. Make sure to mix the flour and seasonings thoroughly with the panko to ensure every bite is packed with flavor.
While coating the chicken, press firmly into the breadcrumb mixture to help it adhere better. An even coat ensures that each tender has a deliciously crispy exterior once baked. If you find the crumbs aren't sticking as well as you’d like, misting the tenders with a little extra buttermilk before breading can help. This small adjustment can also improve the flavor as it adds another layer of moisture.
Baking to Golden Perfection
Baking at a high temperature, like 425°F (220°C), is essential for achieving that crispy texture without frying. This temperature allows the tenders to cook quickly while the exterior crisps up nicely. Keep an eye on them during the last few minutes of baking; once they turn golden brown around the edges and a meat thermometer reads 165°F (74°C) inside, they are ready to be taken out. This ensures you avoid overcooking, which can lead to dry chicken.
If you're making a larger batch, consider spacing the tenders out properly on your baking sheet. Overcrowding can lead to steaming rather than crisping, so if necessary, bake in batches. You can also save time by using multiple baking sheets, rotating them halfway through for better even cooking. To reheat any leftovers, a few minutes in a preheated oven will revive their delightful crunch.
Ingredients
- Gather these ingredients to create the perfect chicken tenders.
For the Chicken Tenders
- 1 pound chicken breast, sliced into strips
- 1 cup buttermilk
- 1 cup panko breadcrumbs
- 1/2 cup all-purpose flour
- 1 teaspoon garlic powder
- 1 teaspoon onion powder
- 1 teaspoon smoked paprika
- Salt and pepper to taste
- Olive oil spray
- Ensure everything is ready before baking for the best results.
Instructions
- Follow these steps to achieve crispy perfection.
Marinate the Chicken
In a bowl, combine the chicken strips and buttermilk. Let it marinate for at least 30 minutes or up to overnight in the refrigerator.
Prepare the Breading Station
In one bowl, mix panko breadcrumbs, flour, garlic powder, onion powder, smoked paprika, salt, and pepper. This will create the flavorful coating for the tenders.
Coat the Chicken
Remove the chicken from the buttermilk, allowing excess to drip off. Dredge each strip in the breadcrumb mixture, pressing firmly to adhere.
Bake
Preheat the oven to 425°F (220°C). Arrange the coated chicken tenders on a lined baking sheet and lightly spray them with olive oil. Bake for 20-25 minutes or until golden brown and cooked through.
- Let the chicken tenders rest for a few minutes before serving.
Pro Tips
- For an extra crispy finish, rotate the baking sheet halfway through cooking. You can also try mixing different spices into the breadcrumb mixture for a unique twist.
Storing and Reheating Tenders
These Crispy Oven Fried Chicken Tenders can be conveniently stored in the fridge for up to three days. Just make sure to keep them in an airtight container to maintain their moisture and crispiness. However, if you need to freeze them, place them in a single layer on a baking sheet until frozen, then transfer them into a freezer bag. They can last up to two months in the freezer, making them an excellent option for meal prep.
To reheat, I highly recommend using an oven for the best texture. Preheat your oven to 375°F (190°C) and bake them on a lined baking sheet for about 10-12 minutes, or until warmed through. Avoid using a microwave, as that can lead to a soggy finish, which defeats the purpose of the crispy exterior you worked so hard for.
Serving Suggestions
These chicken tenders are versatile and can be served with a variety of dipping sauces. Classic options like honey mustard, ranch, or barbecue sauce pair beautifully with the crispy coating. For a more adventurous twist, consider serving them with a spicy sriracha mayo or a tangy yogurt-based dip. You could even toss them in buffalo sauce for a fiery kick, transforming them into a go-to game day snack.
To round out the meal, serve your tenders alongside a fresh salad or some roasted veggies. They can also be sliced and added to wraps or sandwiches for a quick lunch option. Adding garnishes like freshly chopped herbs or a squeeze of lemon can brighten up the dish and elevate the flavors even further.
Questions About Recipes
→ Can I use regular chicken instead of chicken breast?
Yes, you can use chicken thighs or tenders as alternatives; just adjust cooking time as needed.
→ How can I reheat leftover chicken tenders?
To maintain crispiness, reheat in the oven at 350°F (175°C) for about 10-15 minutes.
→ Can this recipe be made gluten-free?
Yes, substitute regular flour and panko with gluten-free options.
→ What should I serve with these chicken tenders?
They pair well with a side salad, roasted vegetables, or your favorite dipping sauce.
Crispy Oven Fried Chicken Tenders
What You'll Need
For the Chicken Tenders
- 1 pound chicken breast, sliced into strips
- 1 cup buttermilk
- 1 cup panko breadcrumbs
- 1/2 cup all-purpose flour
- 1 teaspoon garlic powder
- 1 teaspoon onion powder
- 1 teaspoon smoked paprika
- Salt and pepper to taste
- Olive oil spray
How-To Steps
In a bowl, combine the chicken strips and buttermilk. Let it marinate for at least 30 minutes or up to overnight in the refrigerator.
In one bowl, mix panko breadcrumbs, flour, garlic powder, onion powder, smoked paprika, salt, and pepper. This will create the flavorful coating for the tenders.
Remove the chicken from the buttermilk, allowing excess to drip off. Dredge each strip in the breadcrumb mixture, pressing firmly to adhere.
Preheat the oven to 425°F (220°C). Arrange the coated chicken tenders on a lined baking sheet and lightly spray them with olive oil. Bake for 20-25 minutes or until golden brown and cooked through.
Extra Tips
- For an extra crispy finish, rotate the baking sheet halfway through cooking. You can also try mixing different spices into the breadcrumb mixture for a unique twist.
Nutritional Breakdown (Per Serving)
- Calories: 350 kcal
- Total Fat: 12g
- Saturated Fat: 2g
- Cholesterol: 70mg
- Sodium: 560mg
- Total Carbohydrates: 30g
- Dietary Fiber: 1g
- Sugars: 2g
- Protein: 28g